
Hanging Boho DIY Shelves (Dollar Store Craft)
Can you make a simple boho hanging shelf with $3 worth of dollar store supplies? You sure can.

THE INSPIRATION
To prepare for my friend Rachele’s epic kitchen makeover, I wanted to create a small shelf to use as a cute kitchen altar (as her grandmother had recently passed away). The challenge was that I needed the shelf to be small—like, really small—like, really, really, really small (8 inches wide). I planned to hang it on the side of her kitchen cabinet, so I wanted to make the most of the vertical space, too. A small double-layer hanging shelf was the answer.
I wasn’t sure where to find such petite pieces of wood (without figuring out how to cut or get them cut). Then, I found the perfect solution while roaming around the dollar store: two small-and-totally-obnoxious inspirational signs and some twine.
SUPPLIES
2 dollar store inspirational signs
Twine (or rope)
Drill
Wood contact paper (optional)
PROCESS
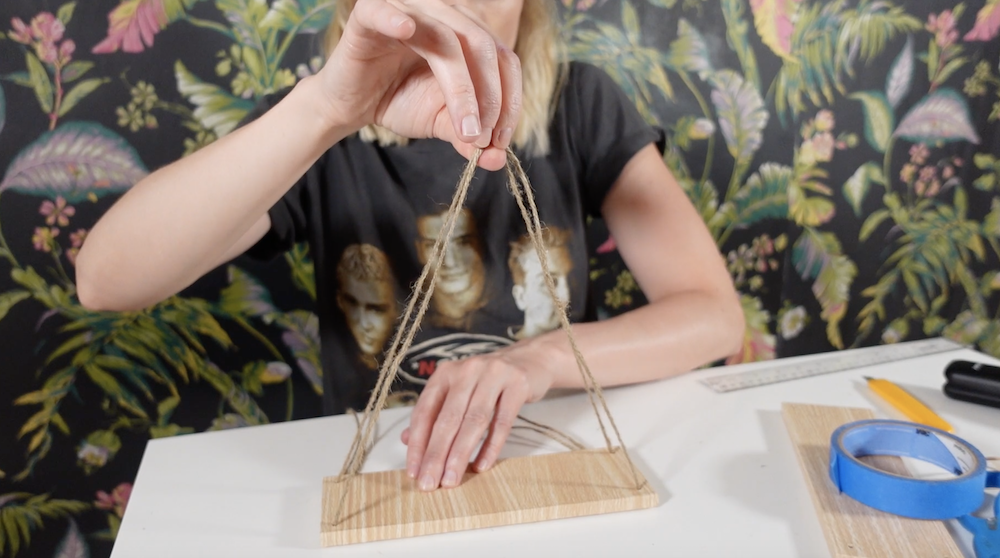
STEP 1: Measure your twine.
For this design, I wanted one string to go through both layers on the front, and one string to go through the back. (Obviously, I would knot them underneath.)
I cut two equal lengths of twine to do this. However, I would recommend making one of the strings longer than the other. This is so that the front string that reaches over to hook on the wall keeps the shelf level. If they’re the exact same size (the way I cut them) you’ll have to play around with single and double looping both of them over the hook to keep the shelf level (and not popping up at an angle). Hope that makes sense.

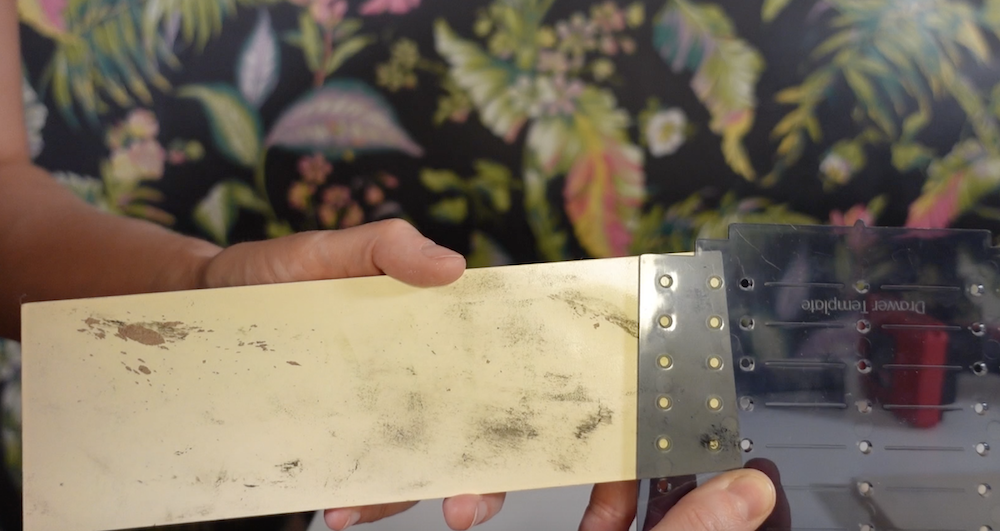
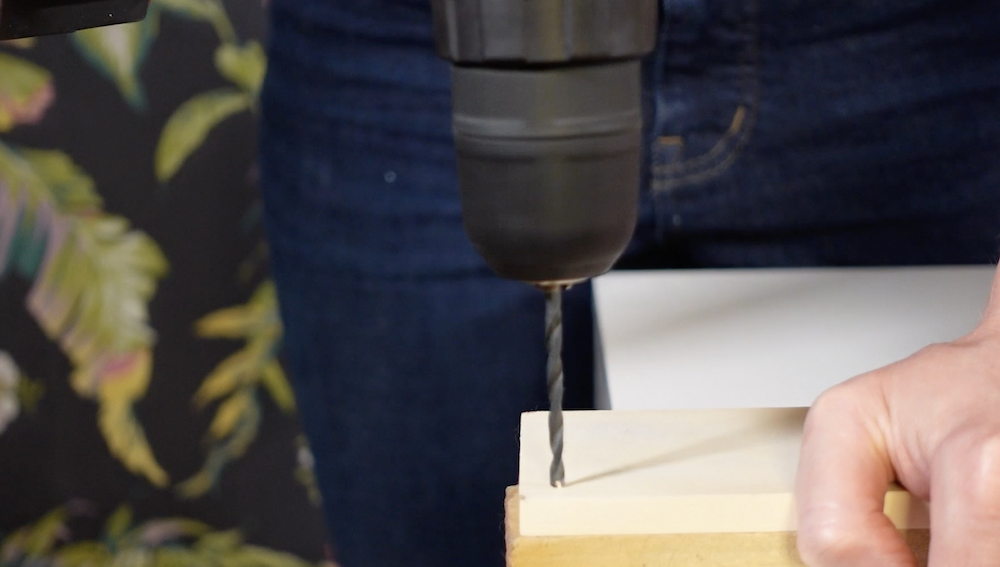
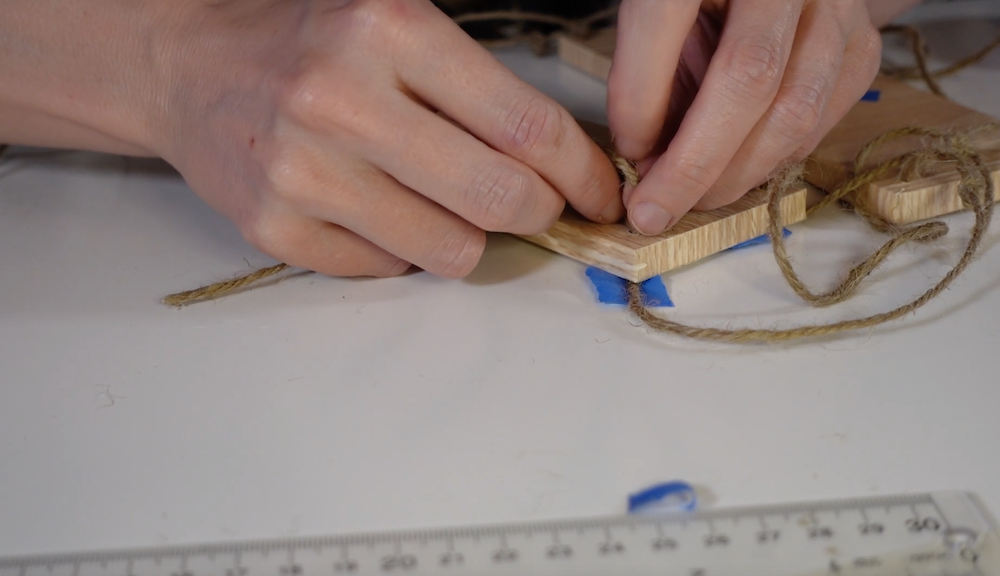
STEP 2: Drill your holes.
You’ll want to drill holes in all four corners of your shelf (make them equidistant). I used a cabinet hole template to make drilling easier.
STEP 3: Paint, stain, or contact paper wrap your shelves (optional).
If you want to change the color of your shelves, do it before you drill. I wanted to get the god-awful inspirational phrases out of my life, so I chose to contact paper.

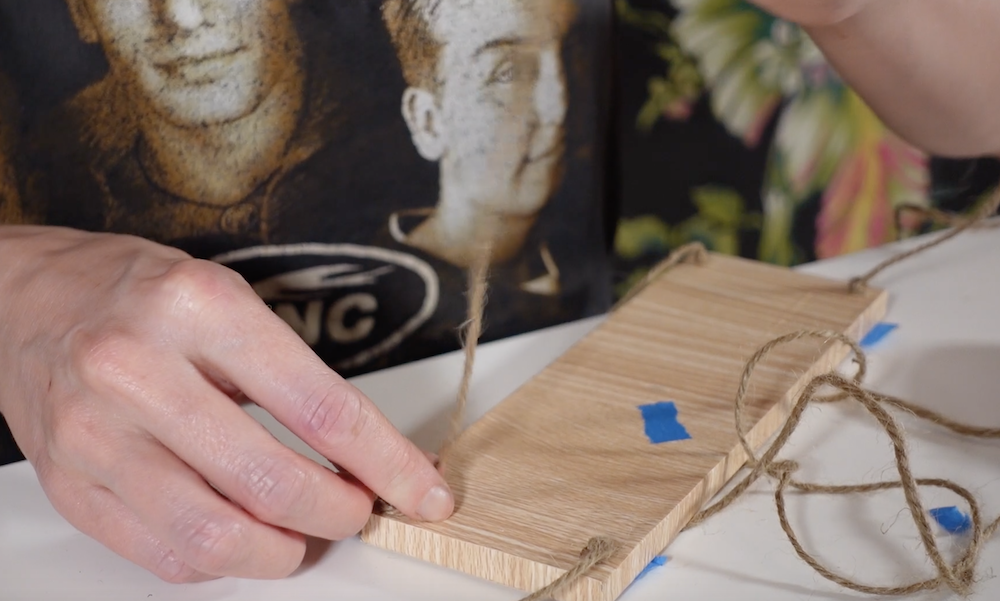
STEP 4: Knot off your top shelf.
String the twine through the shelves. The loose ends should be underneath the shelves.
Now you’re going to knot off each layer, starting with the top layer. Pull the twine through the bottom of the top shelf (at equal lengths for all four strings), and knot off the underside. Make sure the knots are at even distances. You can mark the string at the point you want to knot with a Sharpie or painter’s tape. There are probably fancy knots you can do, but I just triple knotted them.
STEP 5: Knot off your bottom layer.
Now you can repeat the same process by knotting off the bottom shelf.
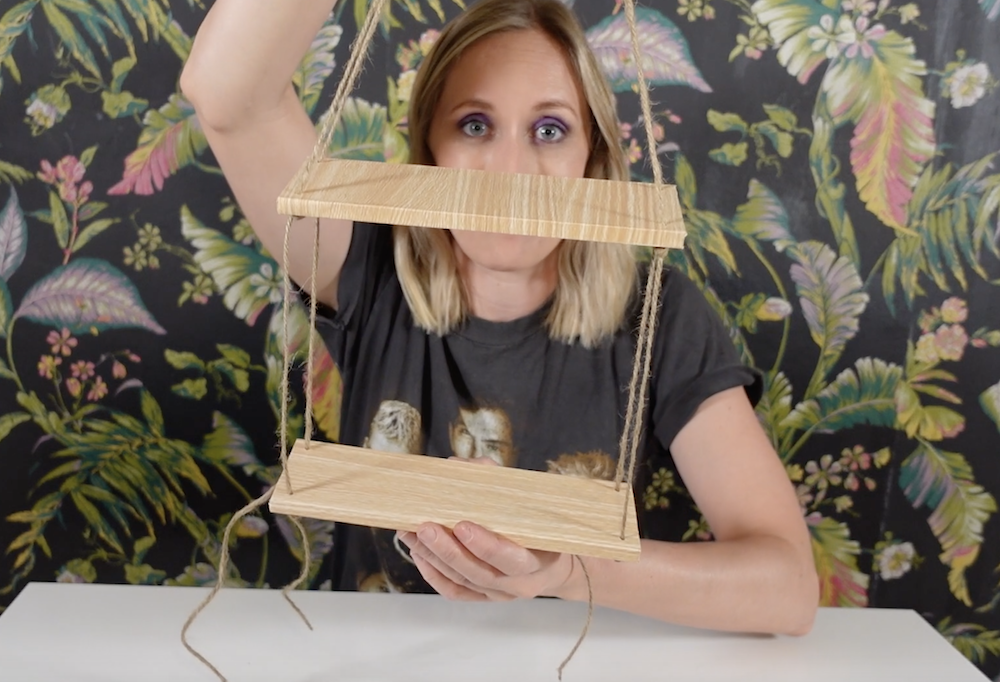
STEP 6: Hang your shelf.
You can use a command hook, wall hook, or nail to hang your new fancy shelves. Enjoy styling, but more importantly enjoy the $$$ you saved.

If you want to see the magic happen in real-time, watch the full episode and like & subscribe to Laugh Cry DIY on YouTube. You can also catch me on the @LaughCryDIY Instagram! Otherwise, enjoy more projects below.
✌️—Katy
⬇ I KNOW YOU WANT MORE ⬇


